Multi-panel figures: Using GIMP to combine individual images for use in PLOS articles

Note: This post was written by Eric Cain, a member of PLOS’ Production Team. This is the second installment in a “Format for Success” series from this team. The first post was about Formatting figures
Communicating scientific findings often requires images, charts, graphs, and more to support results and conclusions. When multiple visualizations all relate to one core aspect, it may be useful to include two or more panels to demonstrate this relationship and further distinguish your findings.
To help you submit a figure image that includes multiple panels and strengthens the presentation of your work, consider these steps to combine individual parts and still meet PLOS requirements, helping to get you on your way to a published, visually-appealing journal article.
Decide: Evaluate the implications of combining related pieces into a greater whole
If you have two or more images of individual parts demonstrating a larger concept, you may want to include them as a single figure image, rather than submitting the images as two or more separate figures, each with their own titles and captions.
Align: Choose a presentation that conveys the desired arrangement
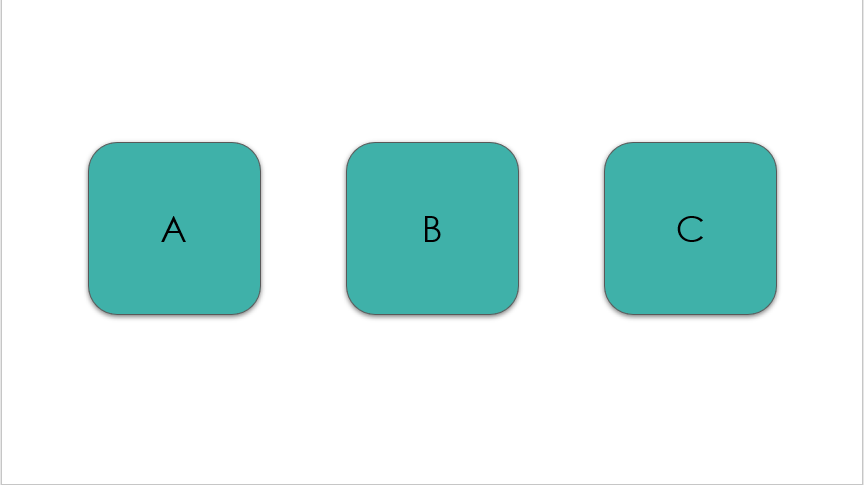
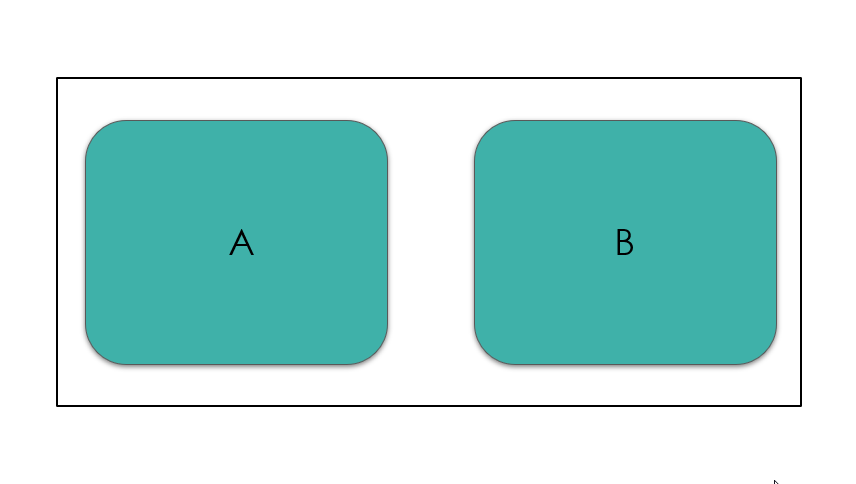
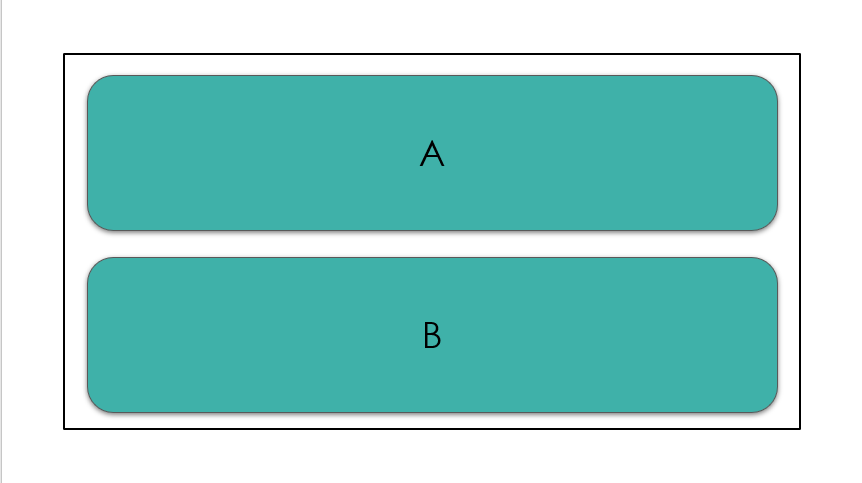
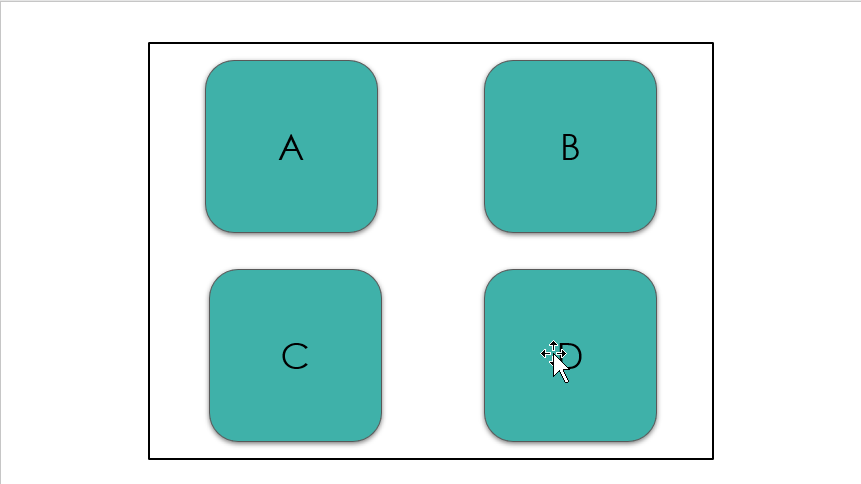
You first want to decide the alignment of the panels in the figure image. We recommend you consider the size and shape of individual panels and what type of relationship between them that you wish to demonstrate, then determine the arrangement. Here are a few examples of common arrangements we see:
Combine: Import and edit each of your panels using an image editing software
To create a multi-panel figure, use a presentation program such as Microsoft PowerPoint, OpenOffice Impress, GIMP, or Keynote for Mac. Here, let’s consider how GIMP can combine panels into a single figure:
- Navigate to File > Open as Layers…
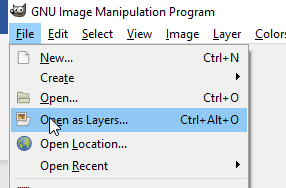
- Select each of the files containing your desired panels and click Open.
- Each file will open as a separate layer, one on top of the next. From the Image menu, select Canvas size… in order to resize the background layer to expand the working space for all the layers in your new figure once you have rearranged them.
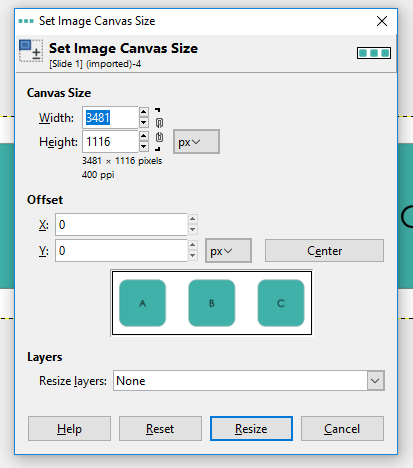
- Choose an approximate size for the canvas, considering your desired alignment. Use the Width and Height selection boxes to set a new size for your background canvas and then click Resize.
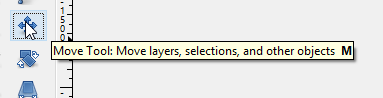
- Select the first layer you wish to arrange and use the Move Tool to reposition the layer in the area of your background canvas. Click on the layer and drag it into intended location. Continue to arrange each layer as needed.
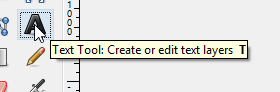
- Next, use the Text Tool to add labels (eg. A, B, C or 1, 2, 3). Click in the area intended for text, drag diagonally to reserve space for a text box, release, and then click inside the new text box to type in labels. Letters are recommended, as they easily distinguish between panels and avoid confusion between figure numbers that exist elsewhere.
- When all layers of images and text are complete, then select Crop Tool to cut out unnecessary space from your figure edges. Click in a corner at the desired edge of your figure, hold and drag the cursor to the opposite corner of the desired edge of your figure, then release. Hit Enter to crop to the selected surface area.

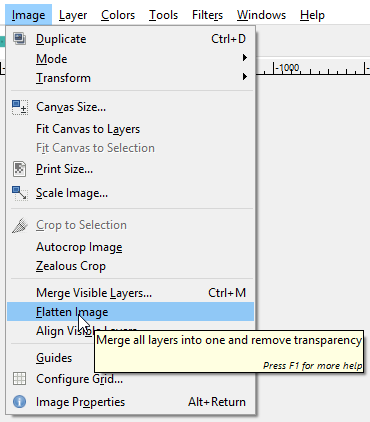
- Navigate to Image > Flatten Image to combine all layers into a single, flat image.
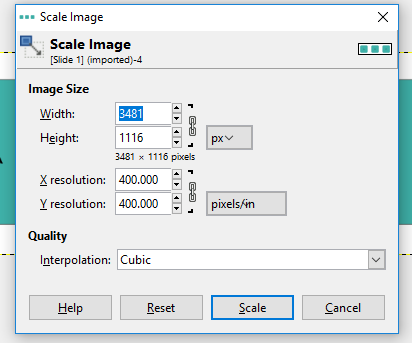
- Scale your image to fit page size and resolution requirements. Select Image > Scale Image… and use the Width and Height image size boxes to set a print size, while also considering a resolution between 300 and 600 DPI. Note that as resolution increases, print size decreases unless the image is scaled larger, and vice versa. When ready, click Scale.
- Lastly, export your new figure image to your computer by choosing File > Export As… and adding in the corresponding name for your new file (eg. Fig1.tif or Fig2.tif). Click Export. When prompted, choose LZW as compression type and select Export.

Congratulations! You now have combined panels into a single image.
A few considerations while combining panels: If your figures have numerous pictures, charts, or small text, they will render best at a resolution of 600dpi. It is preferable to scale each panel to a uniform resolution before combining, so that some panels do not appear blurry and others clear. You may also export your new figure as another file type and use PACE to convert your files to TIF. Finally, if you do not wish to combine multiple panels into a single image file, then you must break them apart into separate figures. If you proceed in this direction, renumber all figures and in-text citations accordingly so that new figure numbers and labels correspond correctly. The PLOS publishing platform and community databases such as PMC only allow for one figure file per designated figure in the article text.
Presentation software like PowerPoint or GIMP may be new to some authors who have not previously compiled multi-panel figures for use. In order to assist working in these programs, use the steps above and also check out tutorials for GIMP, if you have further needs for special modification.
Combining multiple, related panels into a single figure image improves the visual organization of scientific concepts that cannot fit into a single panel. This post offers insight on figure presentation options and includes a simple guide to help you to create the most effective figure image possible for your PLOS journal article.